MontavueGo Mobile Setup Guide
MontavueGo 2.0 Setup
Download MontavueGo 2.0 from the Appstore, this will be for both IOS and Android Devices.
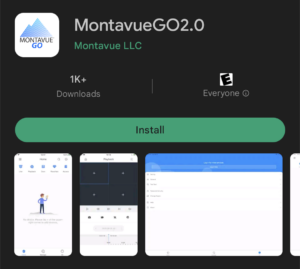
Open MontavueGo 2.0 and Swipe to the right until you see a Blue Arrow, then Tap on the Blue Arrow.
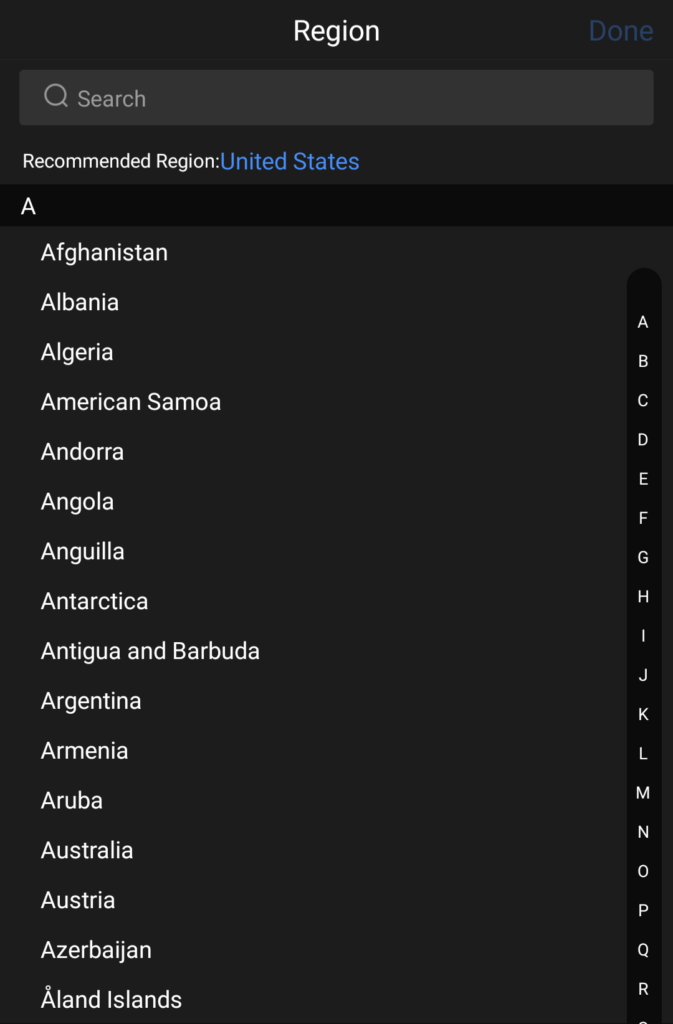
On the next screen, you will be prompted to select your Region, which you will select the Recommended Region in blue at the top and hit next:
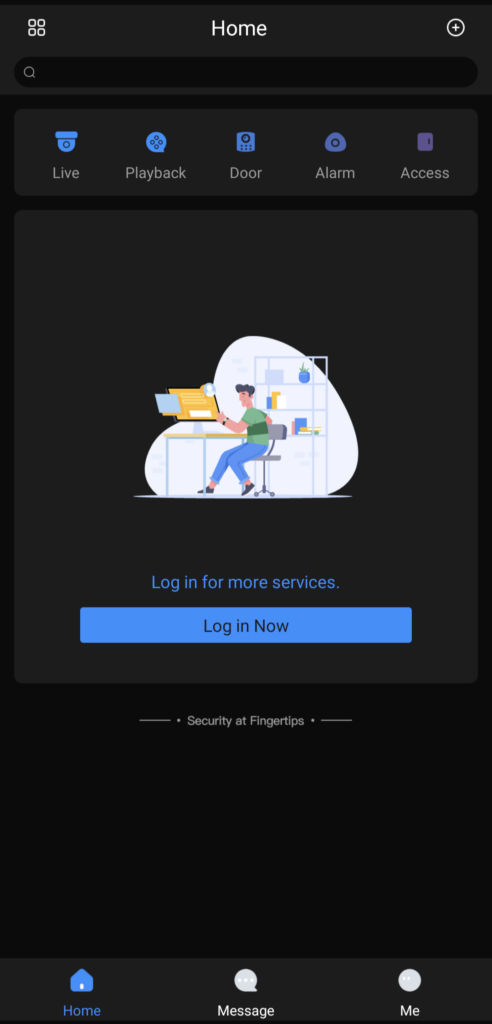
You can tap out of the first time tutorial by tapping anywhere in the darker area of the screen to continue.
Note: You don’t have to log in for more services if you don’t have a doorbell. If this is the case, you can skip past this section and move on to the tab below on how to add your NVR to MontavueGo Mobile.
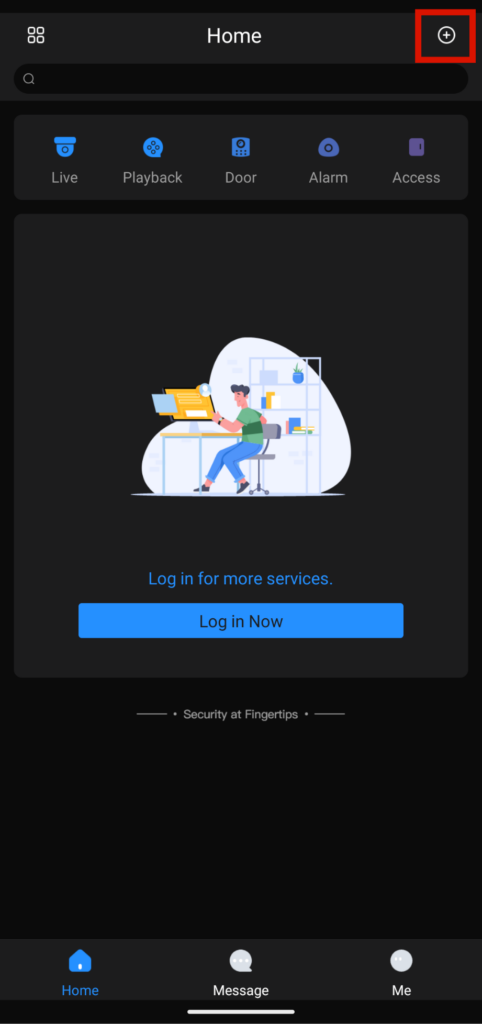
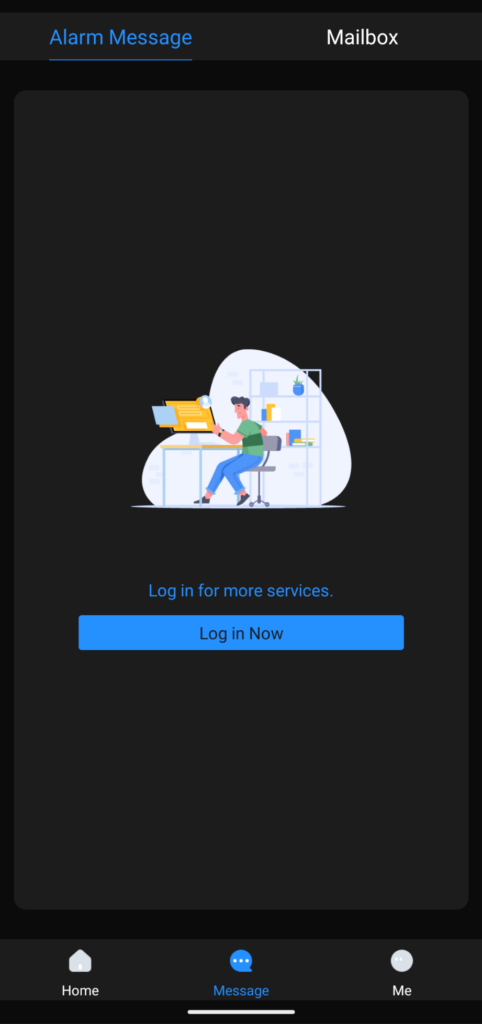
If you do have a doorbell, tap the Log in Now button in the middle of the screen:
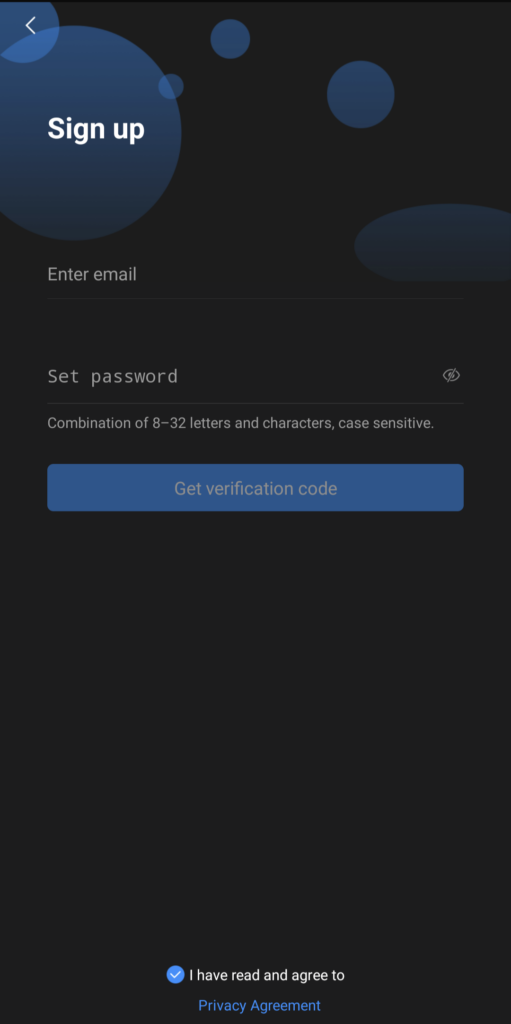
You will be prompted with a login screen where you will tap the Sign Up button at the top right of the screen which will allow you to put an Email and a password of your choice. You will also have to tap on the circle below saying “I Have read and agree to” for the Privacy Agreement to get the verification code sent to your email.
Once you do so it will send a verification email to the email provided, which you will then fill in the area provided on the Mobile Application:
Adding the NVR
- Navigate to the Home Screen and click the + Button
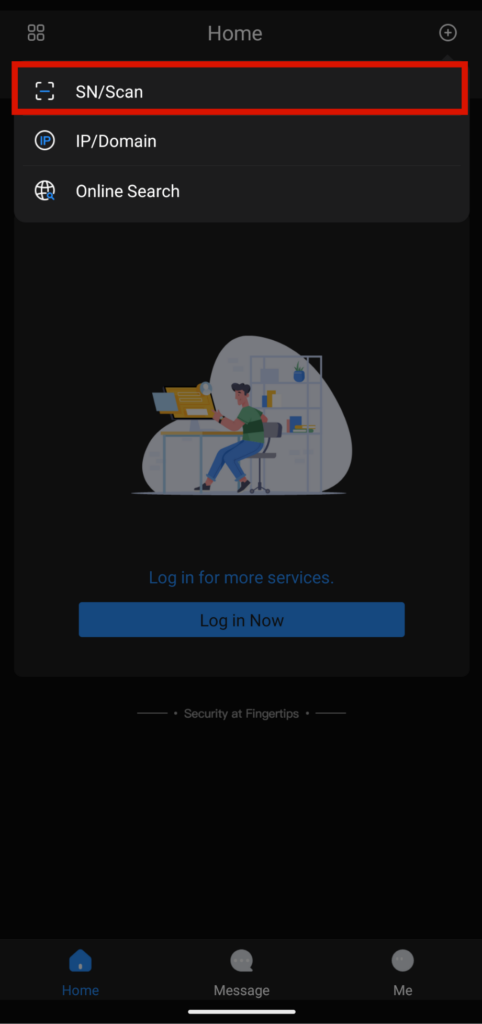
- Tap on SN/Scan
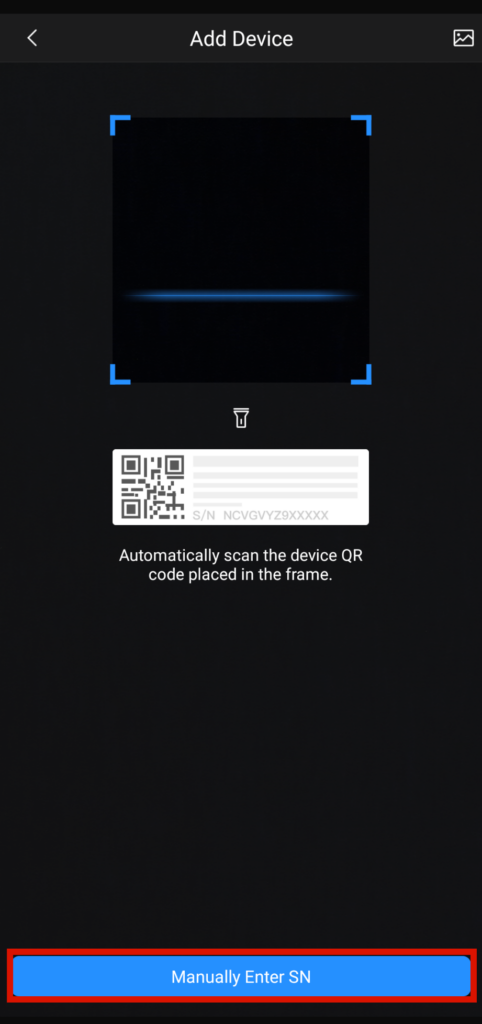
- It will open up the back-facing camera of your phone, and scan the QR Code on the NVR by lining it up in the Scan Box
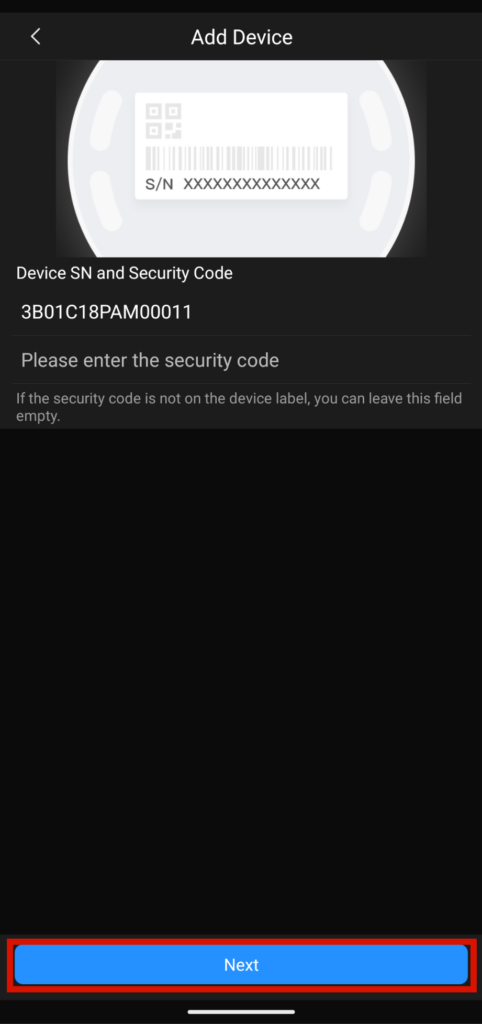
- If scanned successfully, you will see the Serial Number and you will hit the Next Button
*Note: If you are signed in, you will select Local when adding the NVR not Account. The account is reserved for the Doorbell only. - Select the NVR Icon
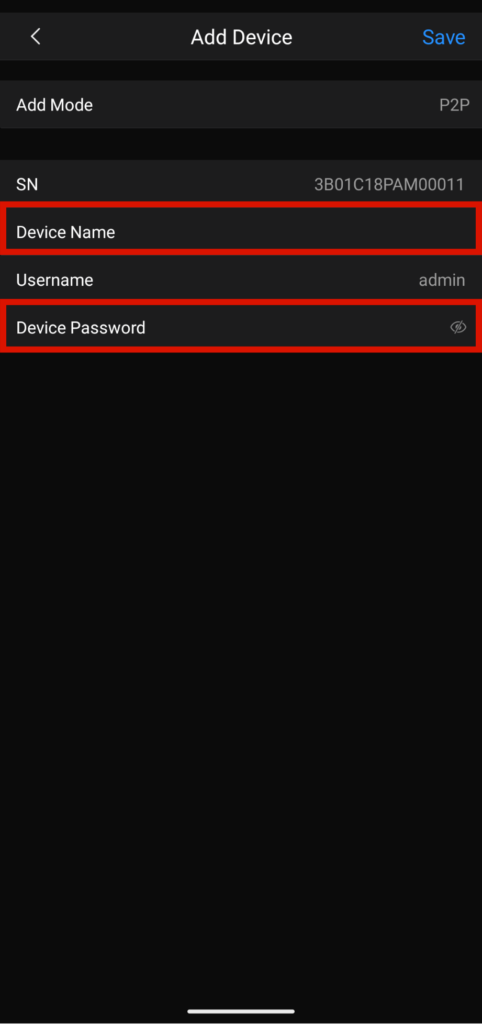
- When adding the device, you will put in a Device Name of the NVR that will be shown on MontavueGo > Username will auto-fill as admin > Device Password is the password you use to log into/first initialize the NVR with.
- After you hit Save, you should see the cameras you have added to the NVR.
Click the Image below to follow along
How to View the Live Feed
How to View All Camera Feeds
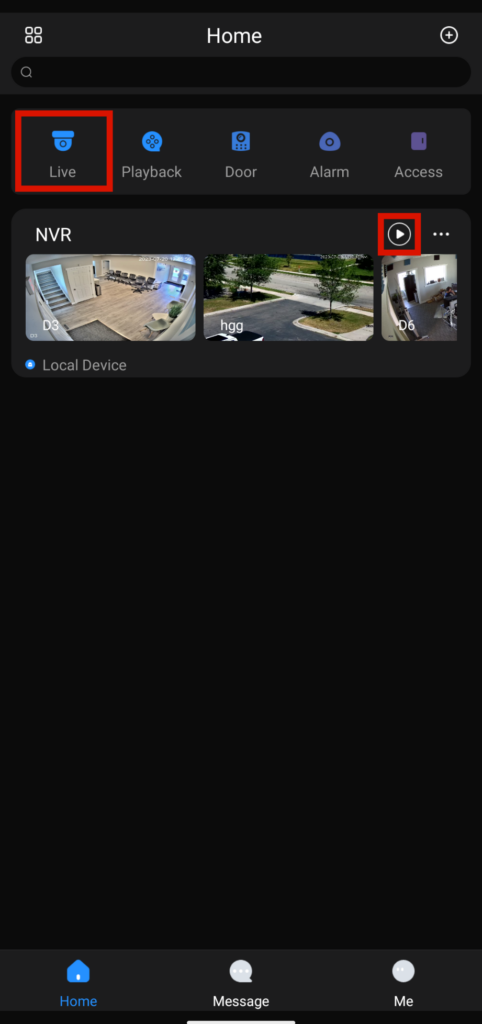
Navigate to the Home screen and select The play Button to the left of the 3 Dots
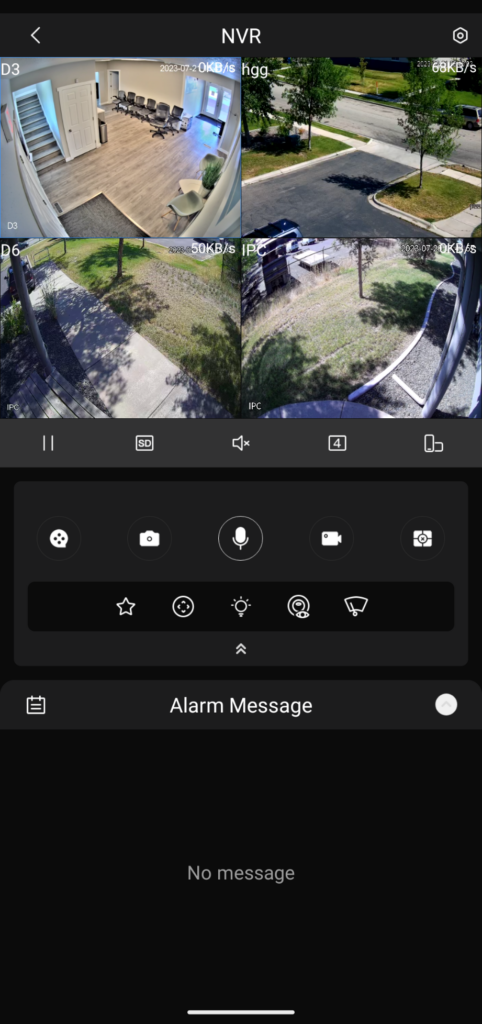
The Play Button it will automatically pull up all of your cameras.
You can swipe to the left on the 4-view to see the next 4 cameras
How to View Individual Camera Feeds
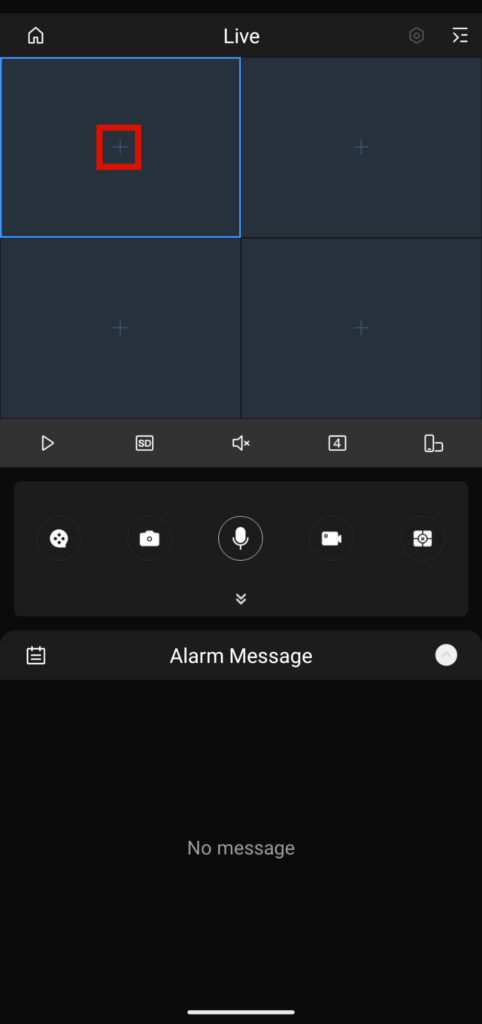
Navigate to the Home screen and select Live

Tap on any + icon in the channel view
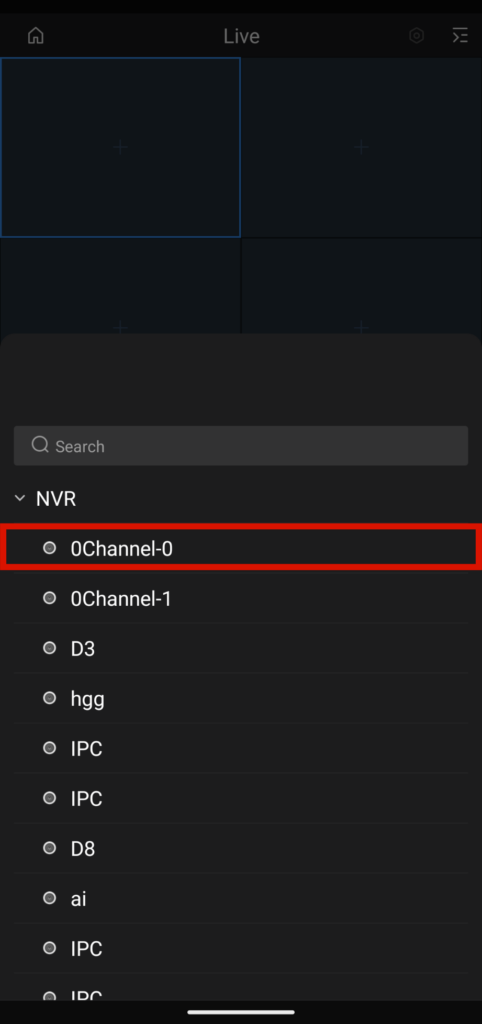
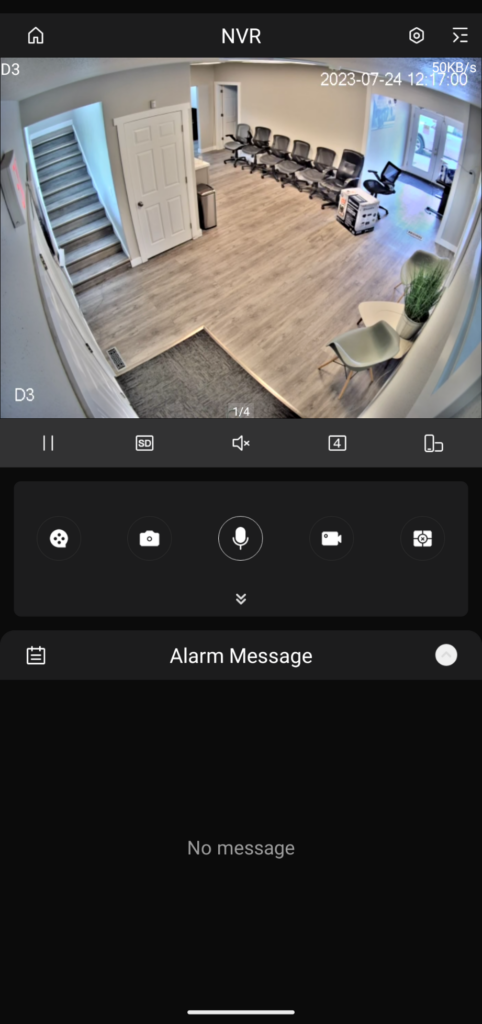
Click your NVRs name, then select the camera you’d like to view
Repeat the same process for additional cameras
Click on the image below for examples:
How to Review Recorded footage
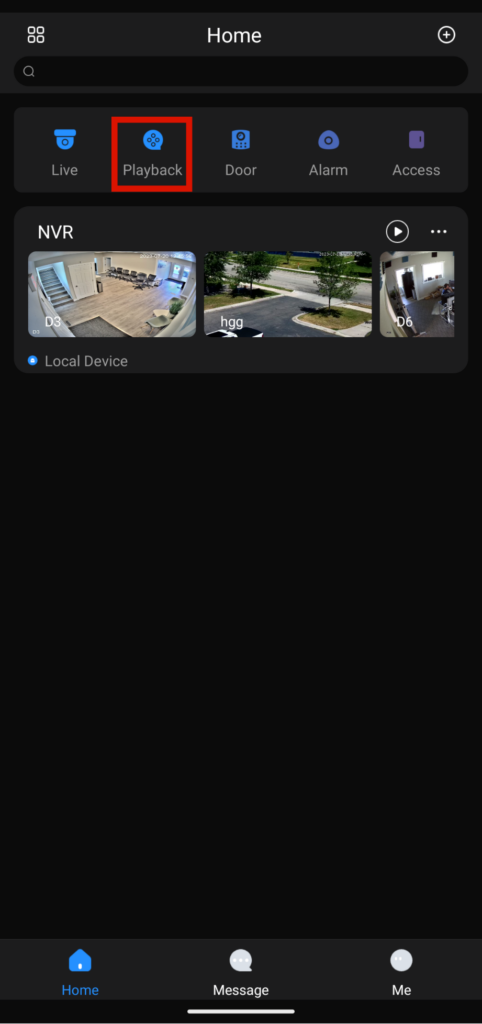
Navigate to Home Screen and select Playback
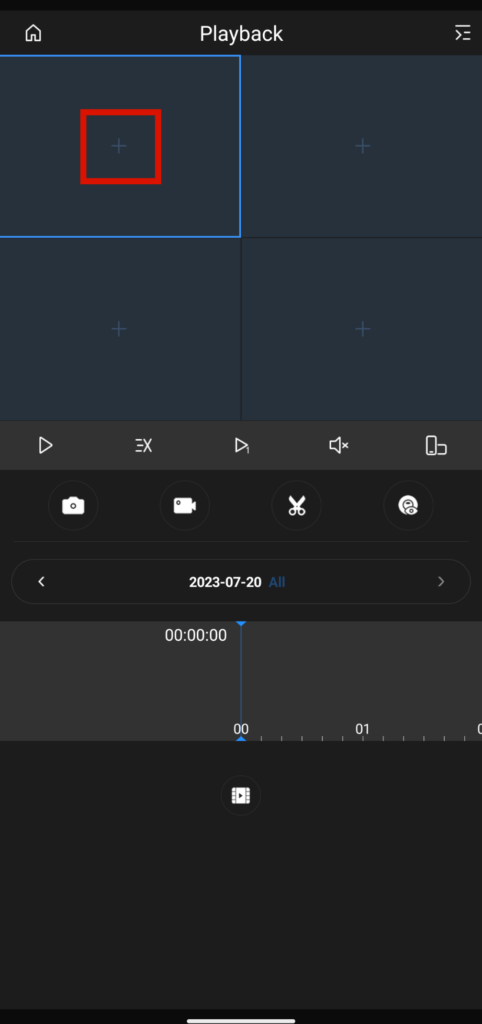
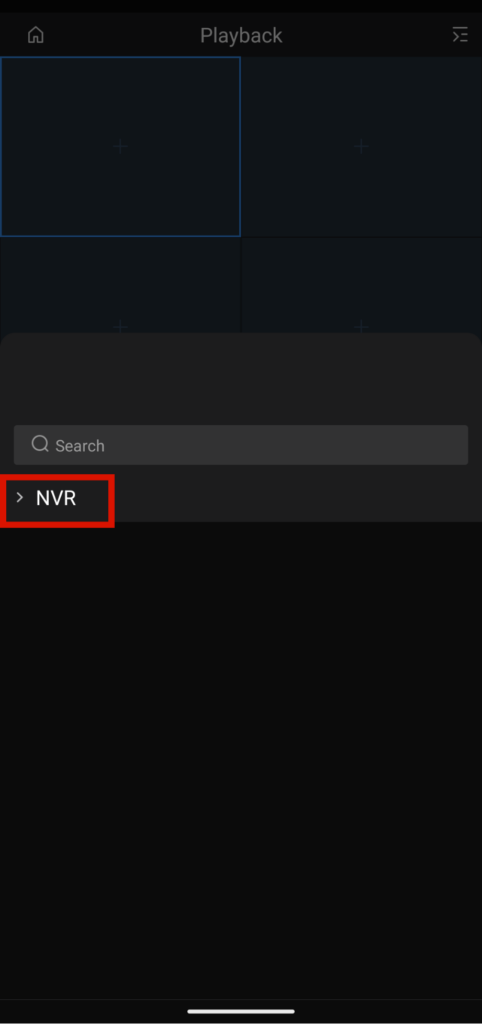
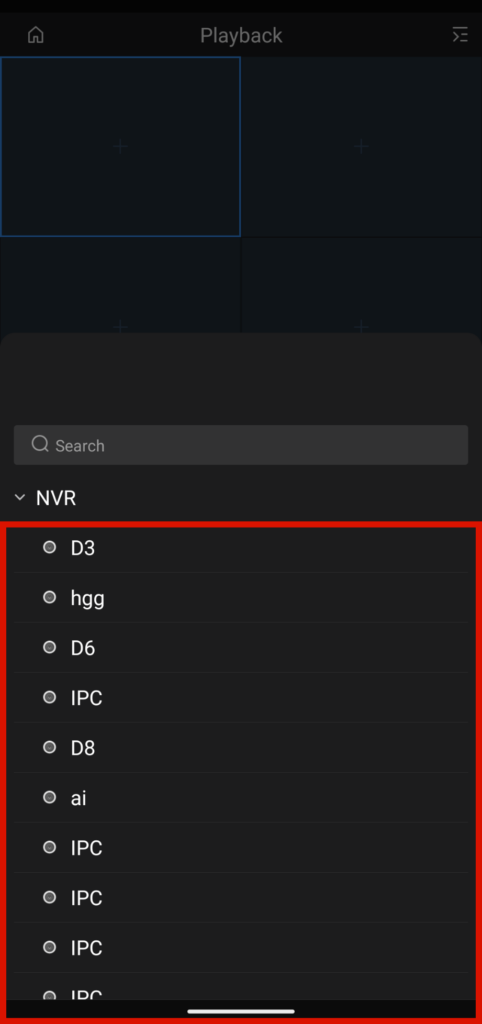
Click any + icon in the 4-channel view then Select the name of your NVR, then select the Camera you’d like to review
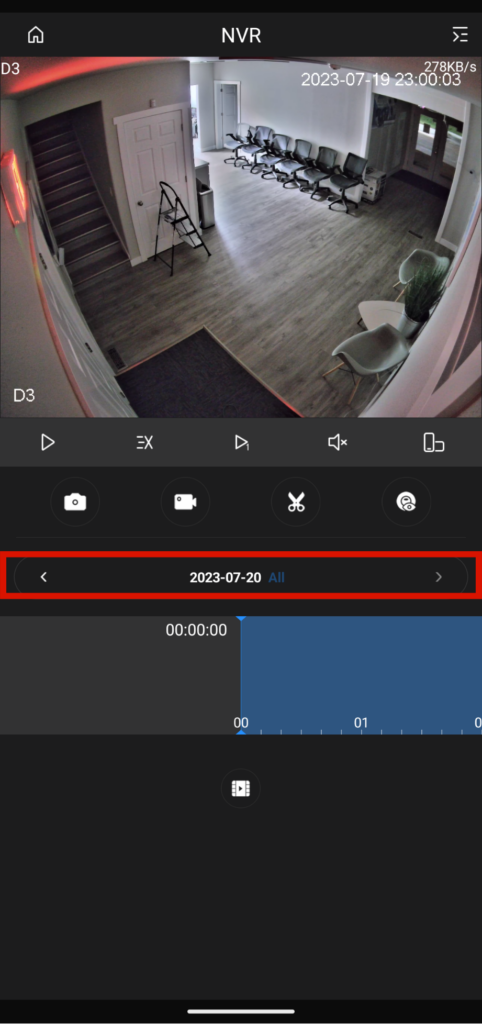
Select the date you’d like to review. Repeat for any additional cameras as well.
You can click and drag the timeline to select the time you’d like to review as well.
Subscribing to Notifications in MontavueGo Mobile
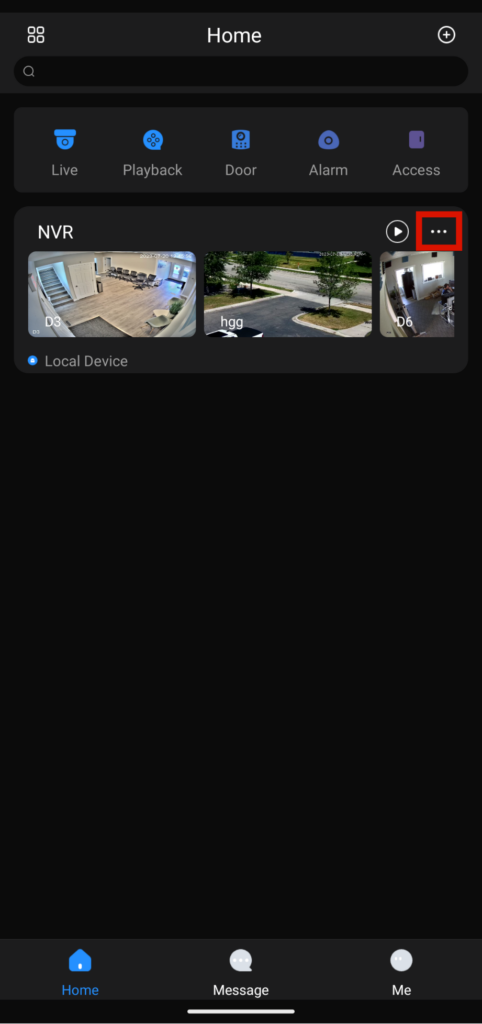
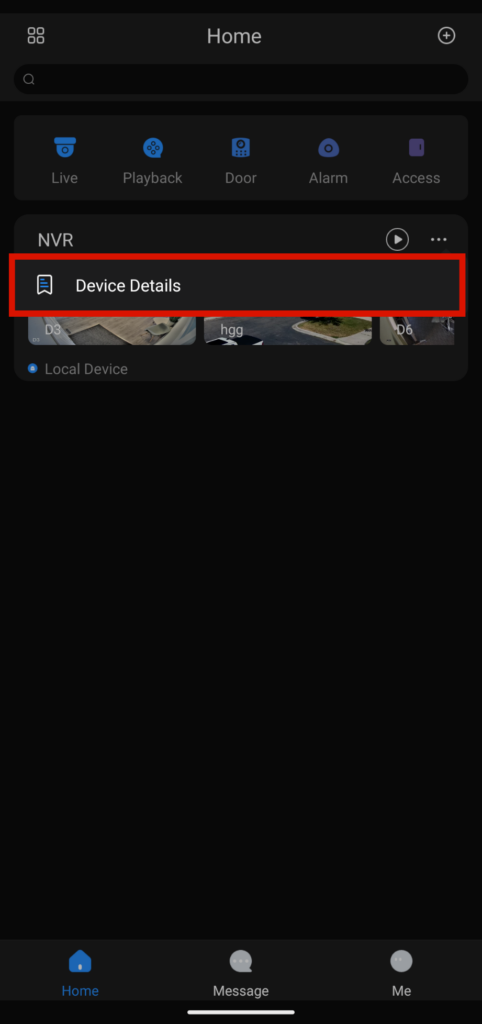
- Navigate to Home Screen and select the three dots to the right of your NVRs name then select Device Details
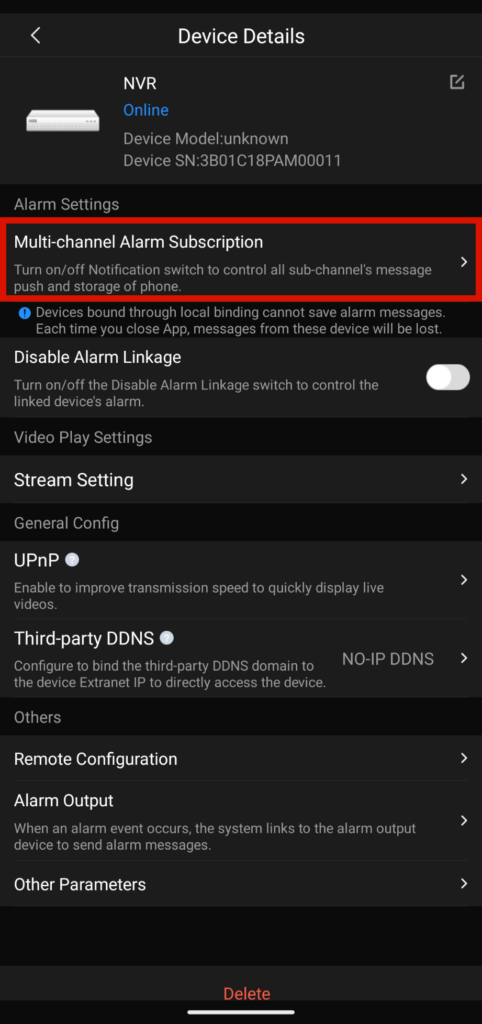
- Select Multi-Channel Subscriptions
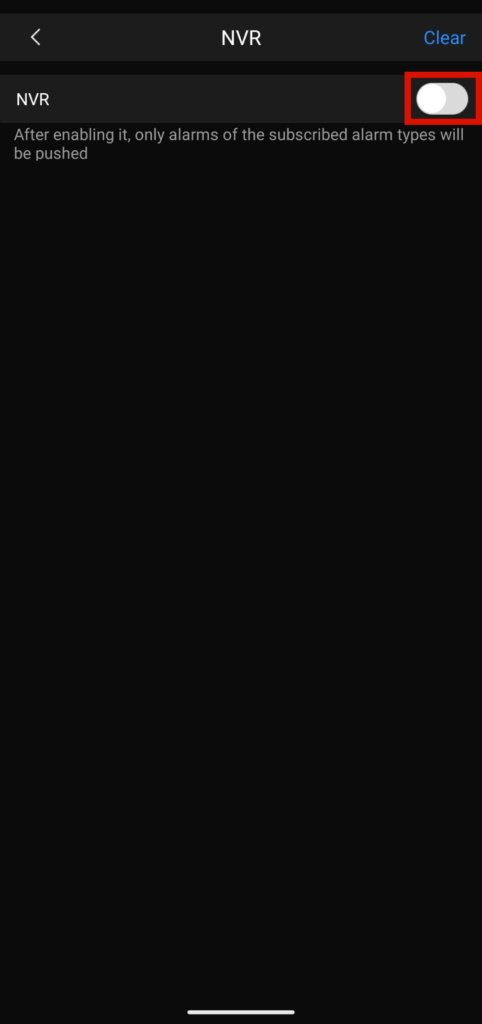
- Set the switch next to your NVRs name from gray to blue
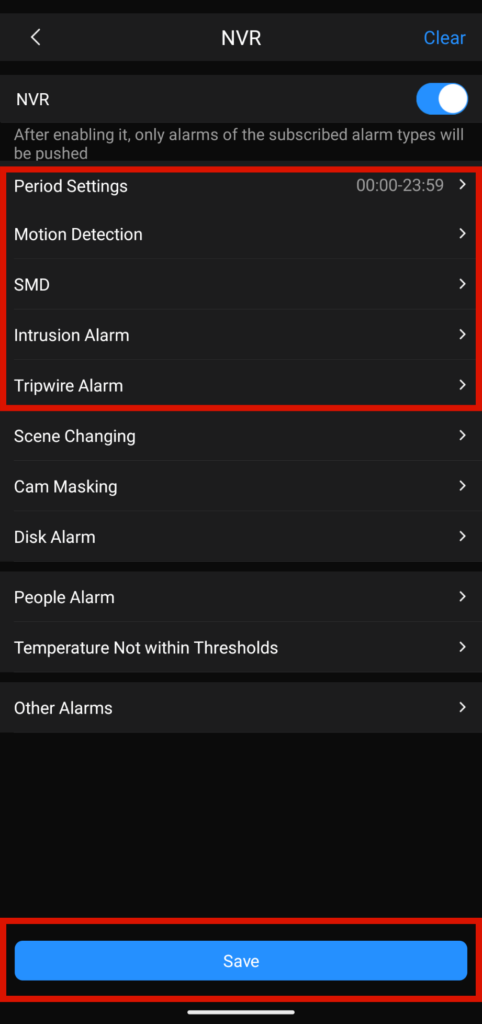
- You can set the Period for when you will receive notifications throughout the day
- Below you can select the type of notifications you want active, typically you can enable Motion and Tripwire Detection for your cameras
If you have Cameras with SMD you can also enable that for both Vehicle and Human based on the notifications you wish to receive. - Select the cameras you’d like to be notified on and then click the back arrow at the top left until you see the Save Button, then click Save
- Click back until you see Save, then tap on it to save your notification
Please note that the notification types you subscribe to must be enabled on your NVR to function
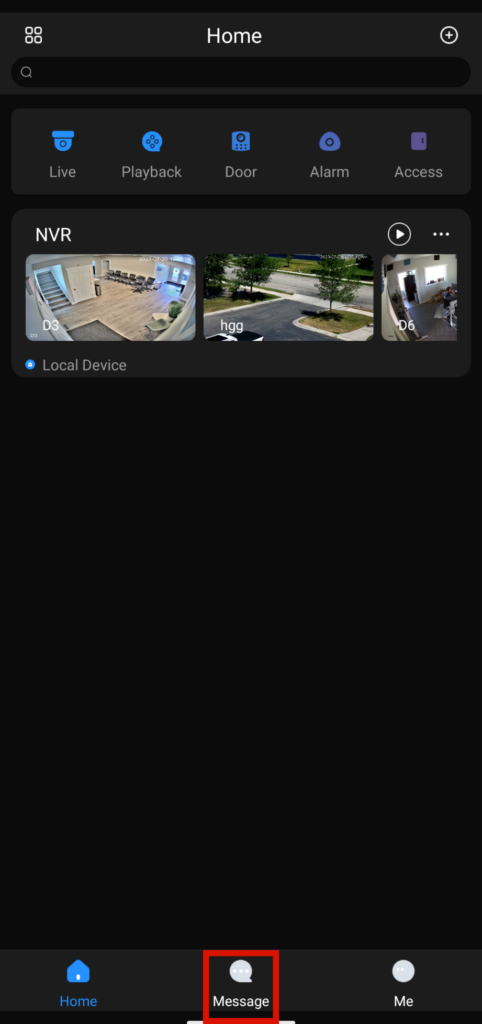
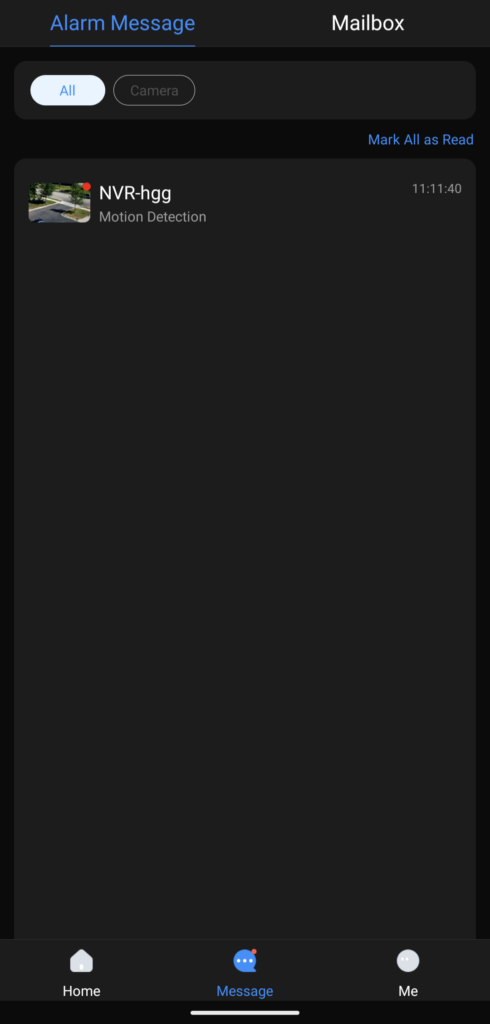
You can view the Alerts when you Navigate to the Home Screen and tap on Message at the bottom
Until you receive a notification, if you are not signed in, it will have the Login Now option
