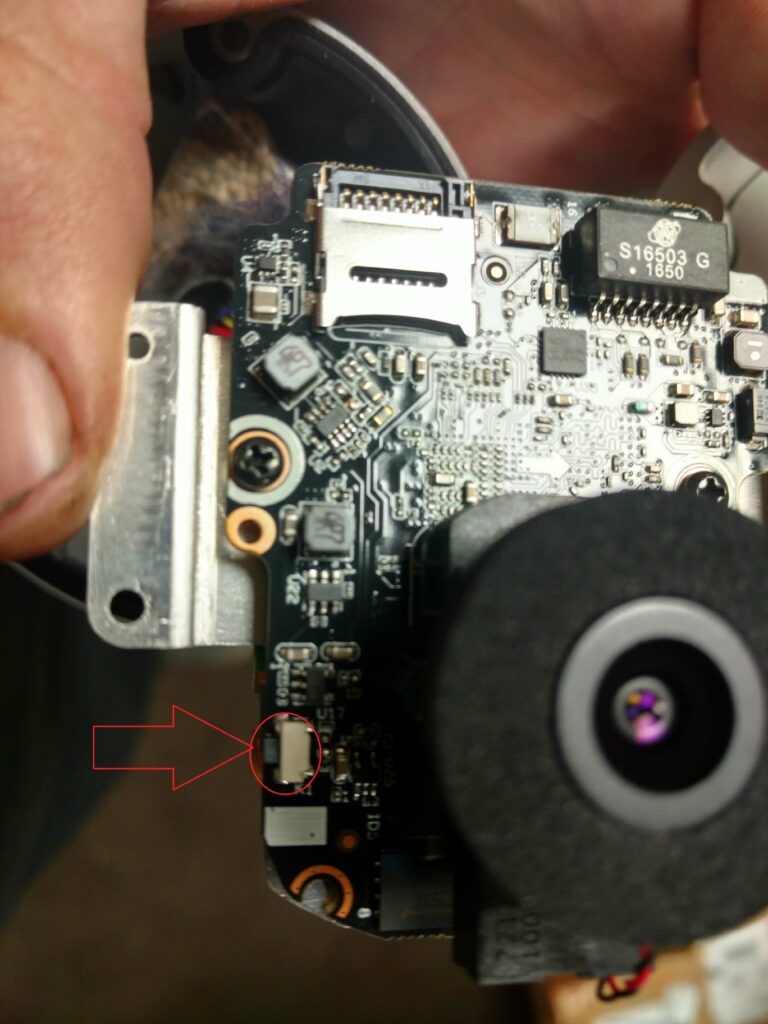
Unscrew the mounting bracket and remove the eyeball from the mount. Use the provided hex wrench to remove the screws from the back of the camera. Carefully separate the two halves of the camera making sure not to damage the gasket. There are then two screws that hold the motherboard inside the camera as illustrated in the image below. Remove these two screws and lift the board out of the mount being careful not to pull on the wires. The reset button is located on the underside of the board as illustrated in the second image below. While the camera is still plugged in, press and hold the reset button for 30 seconds. The camera will reset to the factory defaults and should automatically be recognized by your NVR if it is plugged directly into the NVR. If the camera is plugged into a switch then you will need to perform a device search to add it and possibly modify the camera’s IP address to match your default gateway.

Still have questions? Contact us.